
In today’s rapidly evolving landscape, anticipating every future development is challenging. Our foresight has its limits.
Many believe that technology itself drives change. However, it’s the innovative ways people utilize technology that truly propel transformation, often in unforeseen directions.
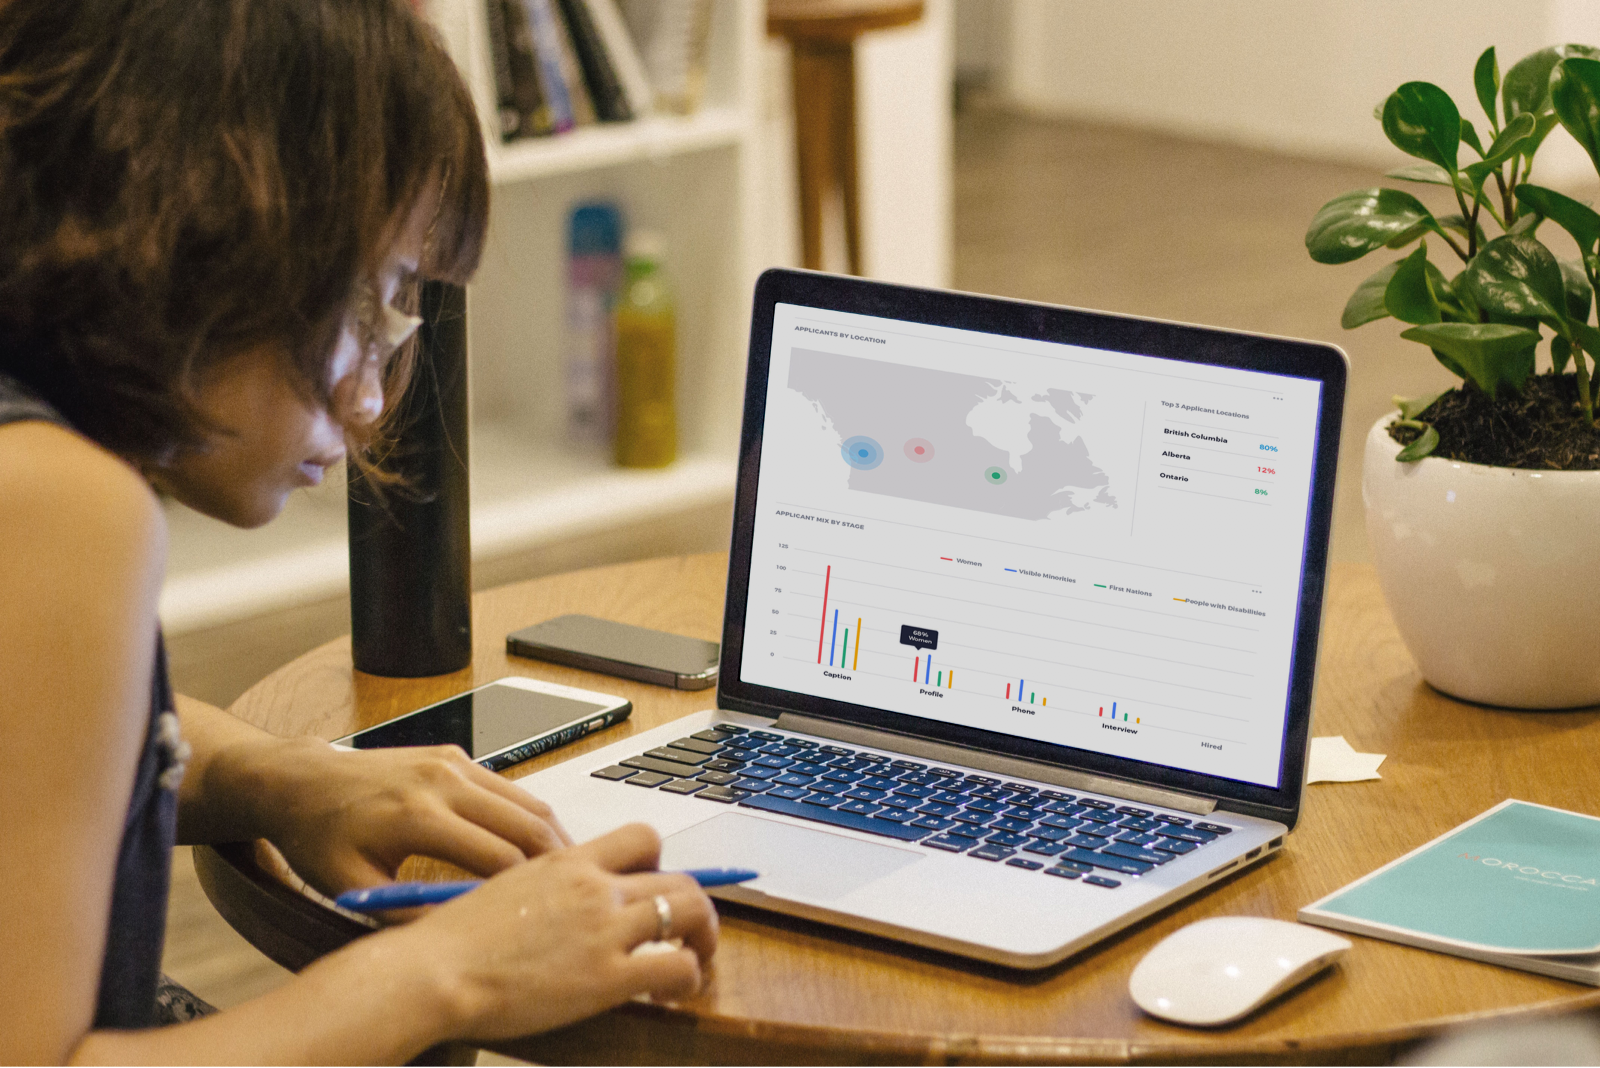
By fixating on predictions, we overlook the present narrative. Concentrating on anticipated trends rather than observing actual customer behaviors can lead to significant investments in products or features that ultimately go unused.
By pausing our internal narratives and genuinely listening to our customers, we can uncover invaluable insights that guide meaningful decisions.
Today’s ecosystems—encompassing social media, remote work, and vast data—offer immense benefits but also present challenges. As organizations adapt to trends like flexible working, internal fragmentation can occur, leading to information silos unprecedented in scale.
With teams dispersed nationally or globally, maintaining accountability, fostering idea exploration, and engaging in robust discussions become increasingly challenging.
Without team alignment, staying attuned to customer needs is difficult. However, adopting effective strategies can bridge this gap.
An Experience Map visually depicts a customer’s journey with your business, illustrating their actions, feelings, and thoughts at each stage—from initial advertisement exposure and free trial engagement to interactions with customer support.

An Experience Map is a visual representation of a customer’s literal experience with your business. It’s a physical map that shows what the customer does, what they feel, and what they think along every step of the way. From the moment they see an advertisement, to when they take up a free trial, all the way to chatting with customer support with a problem and beyond.
While the future remains unpredictable, centering your attention on the customer provides clarity and direction.
Aligning with your customer’s decision-making process and comprehending the psychology behind their actions enables truly customer-centric decisions, moving beyond mere technology trends.
Experience Maps, enriched by data and insights from decision-makers, frontline staff, and customers, identify current behaviors, thoughts, and feelings, highlighting opportunities to enhance future experiences.
Serving as an early warning system, Experience Maps help identify:
If those weren’t reason enough, here are some more:

Touchpoint: Any point where a customer observes or interacts with your brand, from the on-boarding process to customer service chat.

Channels: The methods by which your business communicates information or messages to the customer. E.g. an app, a website, print media, etc.
Typically, Experience Maps are kept focused on a specific experience or project. It just makes them easier to create by limiting the number of people involved, the time you need to dedicate, and the complexity of including multiple data points and voices in the room (we’ll get to “the room” soon).
But you can make your Experience Map as focused or as holistic as you want. You can create Experience Maps for:
Are you committed to creating your Experience Map? Let’s get started, then.
This is a five-step process:
The best and most comprehensive way to create your Experience Map is with a workshop, bringing together all the relevant voices and data in a single room. This event requires some planning to make sure everything stays on track, so you’ll need to decide on several things first:
Like we just described - what are you measuring in your Experience Map? Once you agree on that, that will help you decide what voices need to be heard. Experience Maps are cross-disciplinary, so you need to determine who should be there. Colleagues at every level should be there.
Remote working shouldn’t be a barrier to getting the right people in the room. Think about the technology your attendees have access to, and start thinking about ways to help facilitate their access.
Creating an Experience Map relies on more than opinions and subjective anecdotes. You need facts, too. Bring together elements like:
This is typically an all-day workshop, even for a specific project. So the more people you get on board, the more material you gain, the better experience you’ll have.

After you’ve identified all of this, you’ll probably notice that you have a lot of gaps in your knowledge. Some of that will be taken care of by customer research (which we’ll cover in the next section), but some of that can be helped by people in the room.
Which is why you need to schedule a kick-off meeting.
As any effective project manager knows, creating consensus and building momentum is key to getting anything done. Once you’ve identified who you need, what information you have, and how this is going to run, schedule a meeting to lay out and determine:
You should make it clear this is a hybrid workshop, so remote attendees are just as welcome as those in the room (we’ll give you some more practical ways for remote attendees to participate in section #3).
Start creating online channels to communicate, in Slack, Figjam or with whichever tool you like most. The main goal is to make everyone feel included.
Don’t be afraid to literally ask: what do people want to get out of the Experience Map session? You might be leading it, but as a collaborative task building momentum and a joint vision is crucial to any success.
Remember, you need to remind colleagues you aren’t discussing an Experience Map for the sake of discussing it, you are building a tool that will be used throughout the entire organisation.
This means you need buy-in not just for the experience of creating the tool itself, but in using it as a decision-making catalyst afterwards as well.
Once that’s done, you’re ready to move on to the next phase: your customer research.
So you’ve identified who should be in the room, the scope of your project, and the outcome you want. By now you should understand what gaps in your knowledge exist, and how to start filling them.
There are a couple of ways to build out your information. The first is by literally speaking to your customers and asking them a range of questions that relate to their experience with your company.
The second is by asking every workshop attendee to ask a number of questions that relate to their own role.
When you create your Experience Map and track what your customers do at every touchpoint, it’s also important to track what happens internally as well. This is one of the ways you can identify efficiencies and opportunities.
This isn’t something you can accomplish within a few days, so you need to plan accordingly. Finding multiple customers along their journey will require some coordination. The smaller the business or project, the easier it is to find customers. But keep in mind, a customer doesn't have to have experienced the entire journey to give valuable information.
Plan for this process to take between 3-5 weeks, for an Experience Map that is focused around a specific project.
You don’t need to interview as many customers as possible - five is a good sample size. It is important to ask them the right questions, and for that you’ll need to understand how to ask questions.
Remember, you’re trying to determine a few things that will appear in your Experience Map later:
Let the conversation flow naturally. If the customer says something interesting - pick up on it. Ask more. Don’t just rely on the questions in front of you.
For instance, let’s imagine we’re interviewing customers relating to Mortgage Success. We must want to ask questions like:
Notice how we’re asked open-ended questions here, rather than closed-ended questions. Any question that ends in “yes” or “no” isn’t descriptive enough. These questions also remove personal bias from on the part of the interviewer.
Be sure to tell the participant they can’t give a “wrong” answer - you just want to learn about their experiences
Set about an hour for each survey
This isn’t a usability test, so you won’t be asking users to complete “tasks”. Make sure to let the participant know this just a discussion, and their results are kept anonymous (if necessary).
If it's in person, feel free to offer drinks and refreshments - the more comfortable they are, the better answers they’ll give.
Don’t be too prescriptive with your notes. You want to start organizing it and categorizing it, but don’t think about interpreting it too much. This is what the upcoming Workshop will be for.
Remember to understand what the customer’s overall journey is like. These interviews are meant to broaden and enrich the scope of the information you’ve been given.

"What did you like about the mortgage application process?"
Assumptive: You are assuming they liked it in the first place.

"What did you think about the mortgage application process?"
Open-Ended: You are allowing the participant to respond without a bias in place.
Customers in these types of interviews will always feel pressure to say the “right” thing, so it’s important to not lead them to an answer.
Just as your Experience Map measures how your customers interact with and respond to your business, it should also reflect what’s happening internally. As a result, you should conduct interviews with:
... and anyone else in your business who you feel is important to the process. The more people you have access to who actually interact with the customers closely, the better.

Alongside your qualitative data (customer surveys), you should start gathering quantitative data as well. Together, these two sides of the same coin will help show what users say and what they actually do.
For instance, you can collect information like:
However, be wary of using data as an exclusive, objective talking point. Information is a great way to inform a conversation, but it has limitations. For instance, an A/B test might tell you whether customers prefer one version of a website or app than another, but it doesn’t tell you why. In other words, be data-led and not data-defined.
Once you’ve gathered everything together, start placing it in a central place for everyone to read. You want as many insights as possible, and you definitely want participants as informed as possible for what’s about to happen next.
When you have enough customer research that you feel the plugs have been filled, it’s time to move on to the main event: the workshop in which you’ll start bring together all the elements to create your Experience Map.
Take all your customer research, including all of your quantitative data like A/B test results, analytics and so on, and start collating it.
Organize it and place it in a digestible format (like a Confluence or Notion page, or even printed pages as handouts for the actual workshop for people to share). Then, make sure you start distributing that material before the workshop starts.
Be sure to tell everyone: this is just preliminary information. They’ll have a chance to talk about it in the actual workshop.
There’s nothing worse than a workshop that doesn’t go anywhere, or falls apart from lack of direction. As the facilitator, it’s your job to make sure the workshop ends with enough information to create your Experience Map. We suggest distributing a schedule to your attendees and as soon as you see things getting off-track, using it to push the workshop back on the right path.
Have snacks and refreshments ready. Make sure everyone is comfortable so you can focus on the work.
Every activity you do in the room should have a technological equivalent.
Consider having the meeting transcribed in real-time online. Have a “stenographer” who uploads conversations and quotes.
Always have a plan B for every piece of technology, including if the internet connection goes out.
Timebox everything, and be sure to stick to your schedule
Use tools like:
Alongside the technology, make sure you have everything you need in the room:
Remind your attendees that what you’re creating is a narrative. A customer experiences a story, and that story may be surprising or challenging at times compared to what you currently understand.
Alright, let's get started
Prepare a presentation to the group that summarizes all the material you’ve collected so far, including your customer research. Show patterns in your findings, and try to break those findings down into three categories across multiple touchpoints:
Based on that information, you can start a discussion: what does everyone think about those findings? Are there are any gaps or edge cases here? What should be brought up but hasn’t?
Feel free to get people to write down their submissions and put them as sticky notes on a wall. You’re going to use them later.
There isn’t a “best way” to do this, but a typical Experience Map can look like this one we prepared for Mortgage Success.
Each step in the journey is a column, with each row representing the key information you need to collect. The rows can be customized, but you should always include these rows at minimum:

Make sure each group has a few members in it, and ensure that these are cross discipline. Don’t have more than one person from the same department in the group, share knowledge as much as possible.
If it is a small group of three or four stakeholders, you can probably get away with everyone doing the work together. However, this means the workshop will probably take longer - so be sure to account for that in your schedule.
It’s often best to have all the remote attendees form their own team. It’s much easier for them to speak online than have to interact with individual teams. It helps everyone feel part of the group.
Generally, we find it’s easiest to give each group a “step” (column) in the journey. For example, using the Mortgage Success map, we’d give one team the “first introduction” column, and another the “submit application” column, etc. This way you cover the most ground.
Each team will identify each row of the key information within their assigned step (column). Tell groups to put their thoughts on sticky notes, and then on to a piece of butcher’s paper. This is so you can just take photos and transport this material once the workshop is done - no need to collect hundreds of sticky notes.
You may want to divide this work into a couple of half-hour sessions, with a break in between.
Once you’ve finished your group work, have each group present to the room as a whole. Encourage discussion and open feedback. Then, as more input comes in, have the team take notes and place them down alongside their own. This is all valuable insight for when you create the Map later on.
Hopefully, you’ll start to see a type of narrative emerge as the groups begin to consolidate their findings.


With all the material collected, now it’s time to actually create your “map artifact”. Your Experience Map is unique, and the artifact you design should be unique as well. These examples are meant to be instructive, not prescriptive.
As you look at all the material collected in your workshop, perhaps including some preliminary sketches of the map itself, start thinking about what narrative develops. It’s easy to get lost in this information and to try and go broader, but stay on target.
This sets your focus. Are you using a persona to walk through each step? What about a particular design problem?
You need to set this first because it will dictate whether or not the other steps in the Experience Map are actually relevant to their experience.
For instance, let’s take the Mortgage Success company. At the top right corner of the map, we see a profile: Bill, the refinancer. He’s our “guide” through the map, and everything we do is oriented around his particular experience.
You need to think about what your framing device will be.
We touched on this a little in the workshop section, but if you haven’t come up with a definitive journey yet, now it is the time.


Let’s talk about your map artifact in two stages. The first is the actual step-by-step journey that your customer goes through to get what they want. What do you want to represent on your map?
As you can see by these examples, these steps are represented by the individual columns. In the case of the Mortgage Success map, we’ve used:
However, your map can have many stages you like, though any more than five or six and it becomes more complex. Then, start thinking about the rows of your map artifact. Those will show you the detail of your actual journey.
You could put a lot of information here. In fact, you probably have too much information so you’ll need to pare it down. To that end, start thinking about the information you need to categorize in a series of “buckets”:
At each stage of the journey, be sure to write down what’s happening within your own walls. As you can see on Mortgage Success, we’ve done the same thing using another row, labelled system, represented across each column.
Which leads to the final component of your Experience Map…
An Experience Map is meant to guide you and provide vision. You should have used the workshop to identify opportunities with everyone, so now is the time to categorize them into the right step.
Any strategic insight or initiatives should be placed here. Once your start distributing the map, this will help answer any objections to why it was created in the first place.
Again, this should be another row, with information placed in each column.
Start thinking visually. This high-fidelity Experience Map should represent a story, and even though there’s quite a bit of information that story should be easily understood. This isn’t just a slightly prettier version of your low-fidelity structure. Instead, you should start representing elements that show the narrative journey. Someone reading it should be able to understand your meaning by simply looking at the visuals.
For instance, in Mortgage Success we’ve created a type of graph that charts the customer’s emotions as they go from stage to stage.
Think about other visual guides like:
.png)
Once you’ve created your high fidelity map artifact, start thinking about ways to make it your own. Include your brand colours, your logo, and even your tone of voice. This will help you tell a story in a way that resonates with everyone in the organization.
At each stage, ask for feedback in the community you set up to distribute information. You’ll stop yourself from hitting simple problems, and you’ll also create momentum, consensus and buy-in for the artifact you’re about to make available.
Which is handy - because now you need to start thinking about how your Experience Map is actually going to be used.
Hopefully by now you’ll have the momentum from rest of the workshop group to put support behind your Experience Map.
But that isn’t the end of the journey. Now, you need to make sure it’s used throughout your organization. Otherwise, what’s the point?
end out an announcement to your organization telling them the Experience Map is ready, available to read, and point them to the resources. It needs to be online, it needs to be accessible, and you need to include all the information that was put into making it.
Write up the entire process so far, including all the supporting material. Place it within whatever online network you use, or whatever format is best suited to your organization. Transparency will help adoption.
You’ll need back-up from those at the top of the food chain for this, but let them know how the Experience Map can be used:
The possibilities are endless and are unique to each business, but make sure to let each person know they have a huge insight into customer success here.
Remember the opportunities and insights you gathered as part of the mapping process? Now is the time to actually put those into practice.
Gather as many as you can and speak with specific department heads to let them know these about potential new projects.
The important part is to always make sure someone is given a responsibility to follow up. Then, set a time to follow up as an accountability measure.
This makes the Experience Map document not just a piece of insight, but an instigator for action. The more your organization sees that new solutions came from this process, the more likely they’ll be willing to support it in the future.
Make sure to attach measurement statistics to those opportunities too (both customer-facing opportunities, and internal changes as well).
The more you can show your Experience Map process has created value, the more your attendees will be likely to support future workshops and mapping processes.
Even though you may be happy with the map now, an Experience Map should be a living document. Revisit it within three months and follow up on the opportunities you created as part of the last iteration.
What have you learned since the last map that you should add? You may find that you need to conduct more customer research. This is why it’s so crucial to create an online, living space where this information can be housed - new updates can simply be added there.
Remember, the map is just a piece of paper (or a digital image). There’s nothing special about the map itself.
Don’t get caught too much on what it looks like, or if the symbols aren’t quite correct. What you’re looking to create is a direct and accurate representation of what your customers go through when interacting with your organization.
That’s the goal. Don’t lose sight of it. If you use an Experience Map in the way it’s meant to be used - to identify insights, create new opportunities and bolster success - you won’t just succeed, but you’ll thrive.


